
Calendar Settings
Calendar Settings hold the account-level Calendar preferences for your sub-account, plus the external calendar connections shared at the account level. Most of the detailed scheduling rules — availability, buffers, minimum notice — are configured per calendar in the Calendars app, not here.
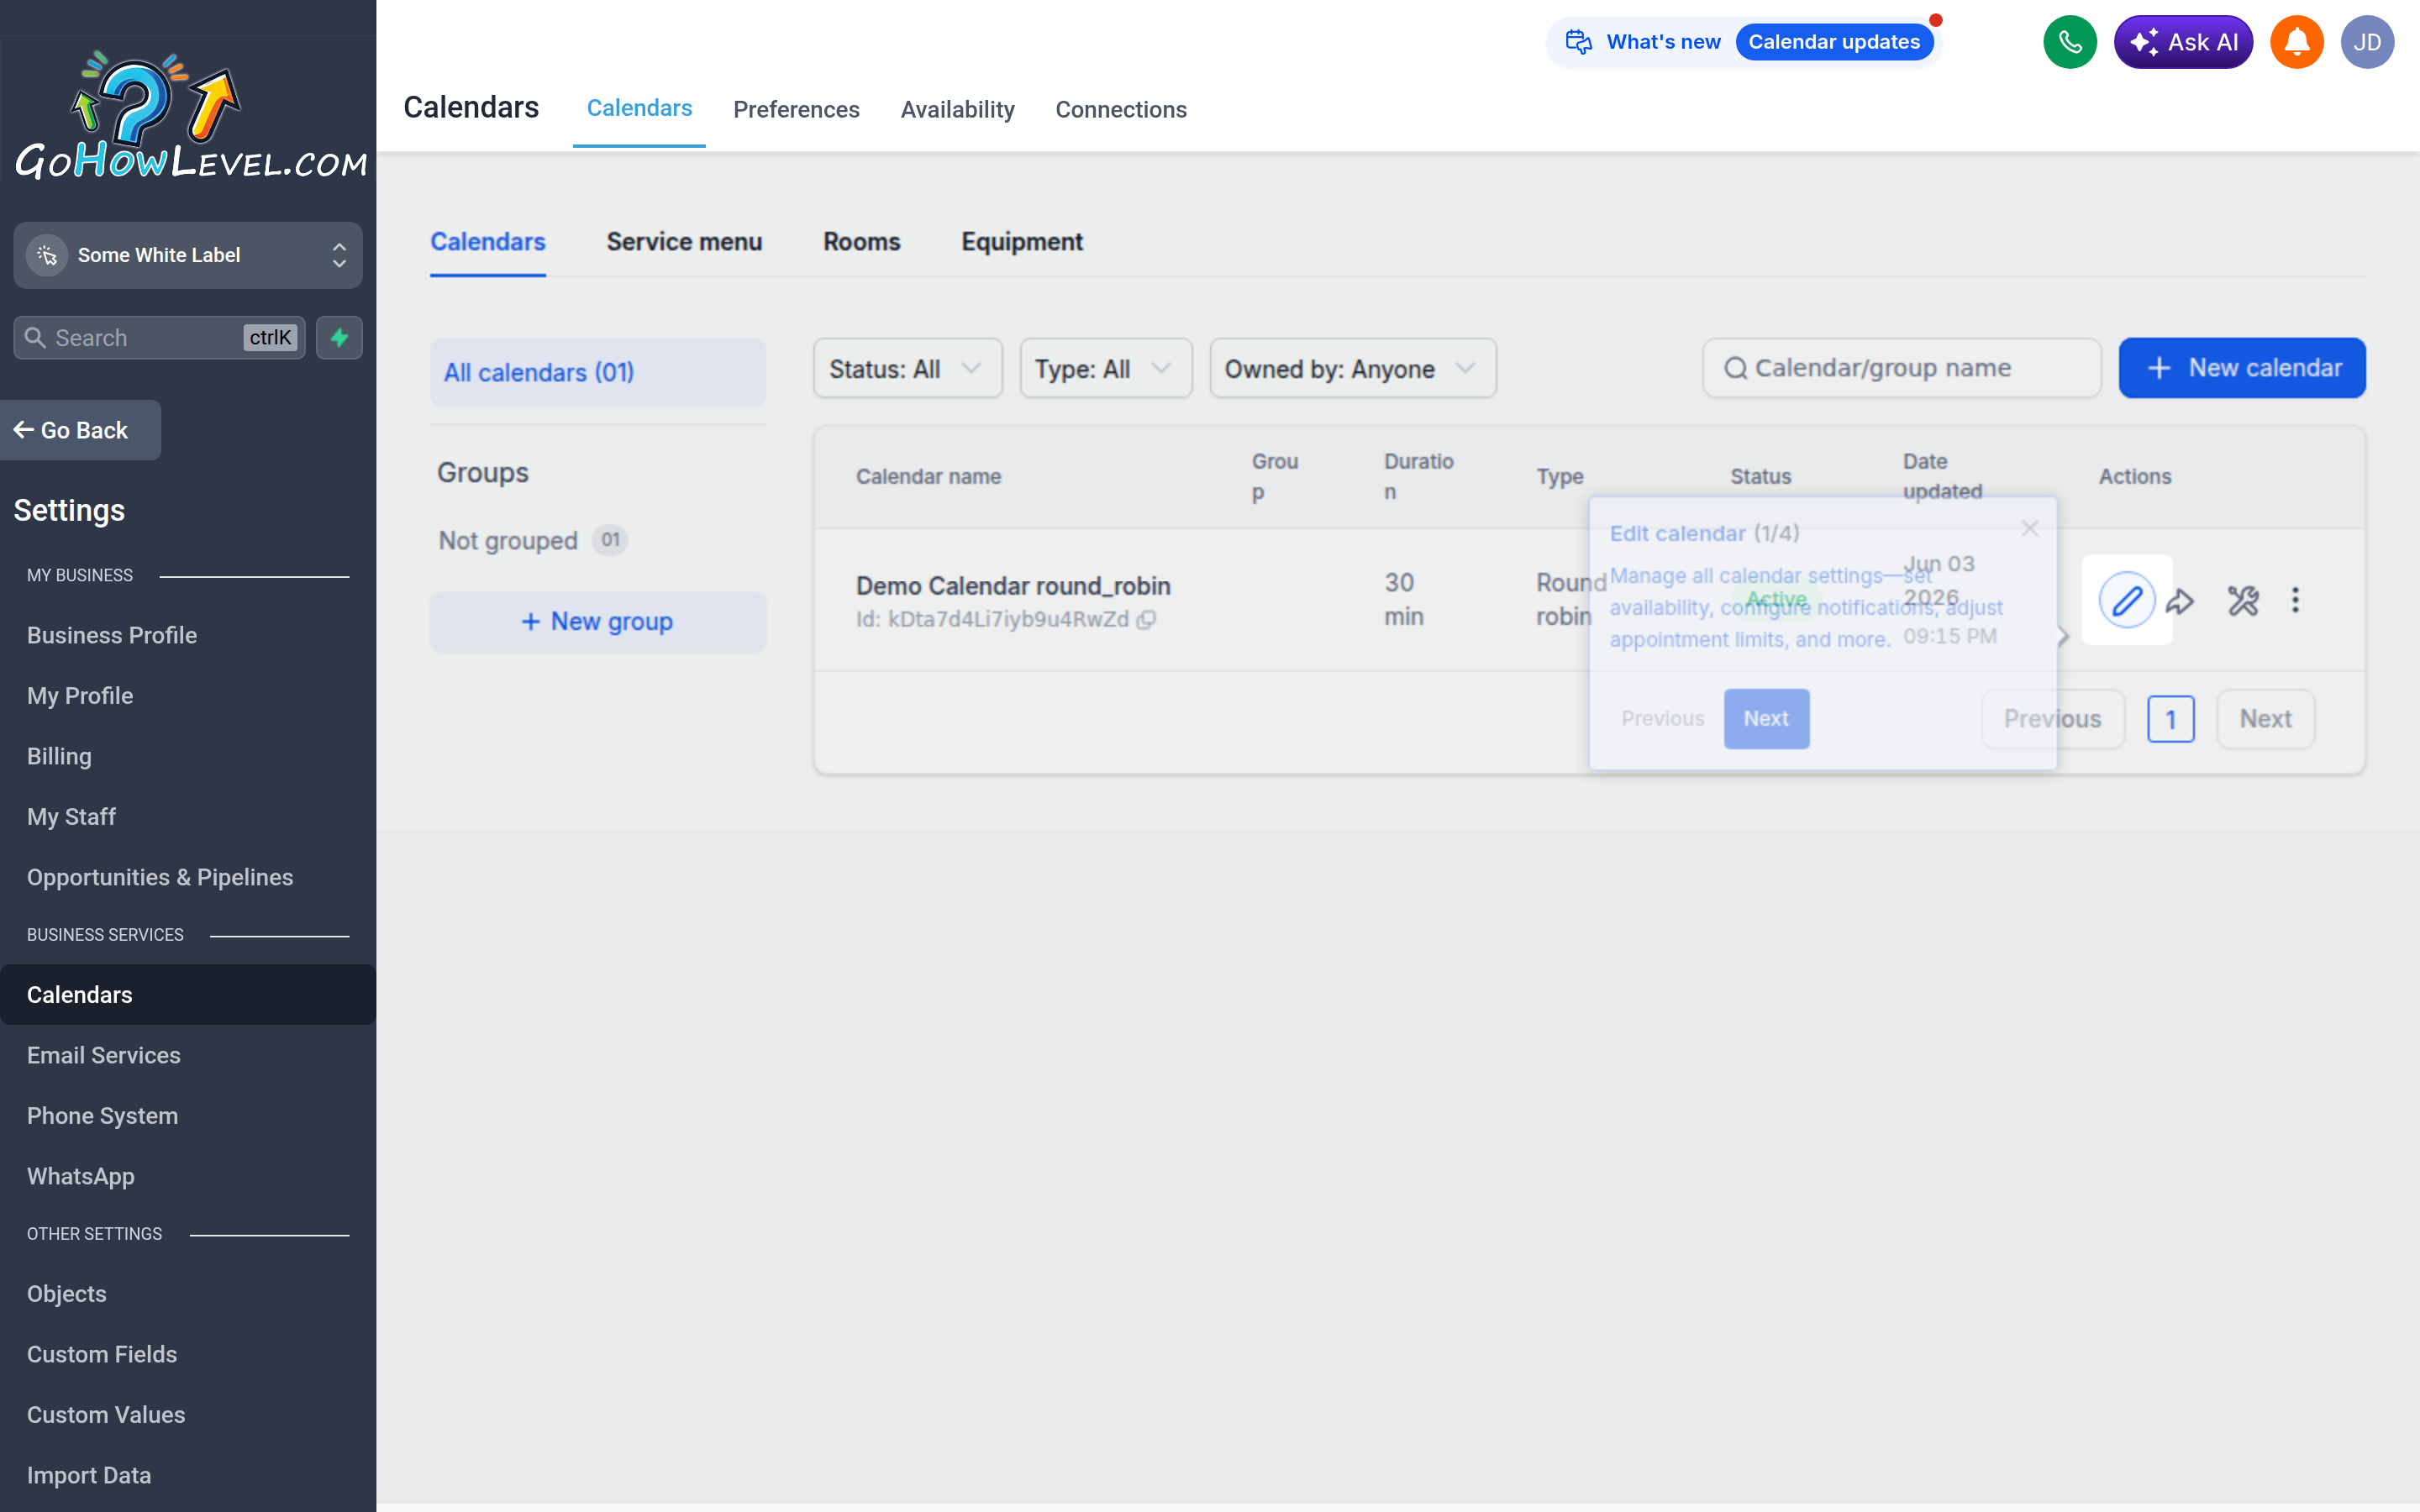
Account-level calendar preferences and connected calendars; individual calendars are configured in the Calendars app.
What’s set here vs. per-calendar
Section titled “What’s set here vs. per-calendar”It helps to know which knob lives where:
| Set in Calendar Settings (account level) | Set per calendar (Calendars app) |
|---|---|
| General Calendar preferences | That calendar’s availability / business hours |
| Connected calendar accounts (Google / Outlook) | Buffer times for that booking type |
| Defaults that apply across the sub-account | Minimum scheduling notice |
| Appointment duration and slot intervals | |
| Team members, round-robin rules, booking form, confirmations, and reminders |
Think of Calendar Settings as account-wide preferences and shared calendar connections; think of each calendar in the Calendars app as a specific booking experience with its own availability and timing rules.
Setting your preferences
Section titled “Setting your preferences”- Open Settings → Calendars (or the calendar configuration area).
- Review the account-level Calendar preferences and set them to suit how your sub-account works.
- Connect the Google or Outlook accounts you want available across the sub-account (see below).
- Save your changes.
When you build an individual calendar in the Calendars app, that’s where you set its availability/business hours, buffer times before and after appointments, and a minimum scheduling notice so customers can’t book a slot starting in a few minutes.
Connecting external calendars
Section titled “Connecting external calendars”Connecting Google or Outlook calendars keeps your scheduling honest in both directions: the system reads your existing events to block busy times, and writes new bookings back so they appear on your usual calendar.
- Open the connected-accounts or calendar-integration section.
- Choose your provider (Google or Outlook).
- Sign in and authorize access when prompted.
- Confirm the connection shows as active and choose which calendar to check for conflicts and write events to.
Account-level vs. personal connections
Section titled “Account-level vs. personal connections”A connection made here applies at the account level, while individual users can also connect their own calendar from My Profile. Use account-level connections for shared resources and personal connections for individual team members’ availability.
Configuring each calendar
Section titled “Configuring each calendar”When you create a calendar in the Calendars app, you set its availability, buffers, and minimum notice directly on that calendar. Each calendar is configured on its own, so to keep your booking types consistent, apply the same conventions as you build each one.
A simple setup order
Section titled “A simple setup order”- Set your timezone in the Business Profile first — all scheduling depends on it.
- Set your account-level Calendar preferences and connect your external calendars here.
- Build individual calendars in the Calendars app, setting each one’s availability, buffers, and minimum notice.
Following that order means each calendar you create starts from solid, consistent ground.